With school beginning supply storage is always on my mind. Imagine being the teacher who receives this! A Deflecto Caddy Organizer that you can add too!!! Add a new Caddy Organizer for Christmas, Teachers Appreciation, Birthday and end of the School year and they will ALL clip together for the perfect tote-able classroom supplies. Teacher can keep track of what supplies she needs at a glance with the see through and removable containers. Customize with a little message or even add your favorite teachers name let me show you how I did it!
What you need:
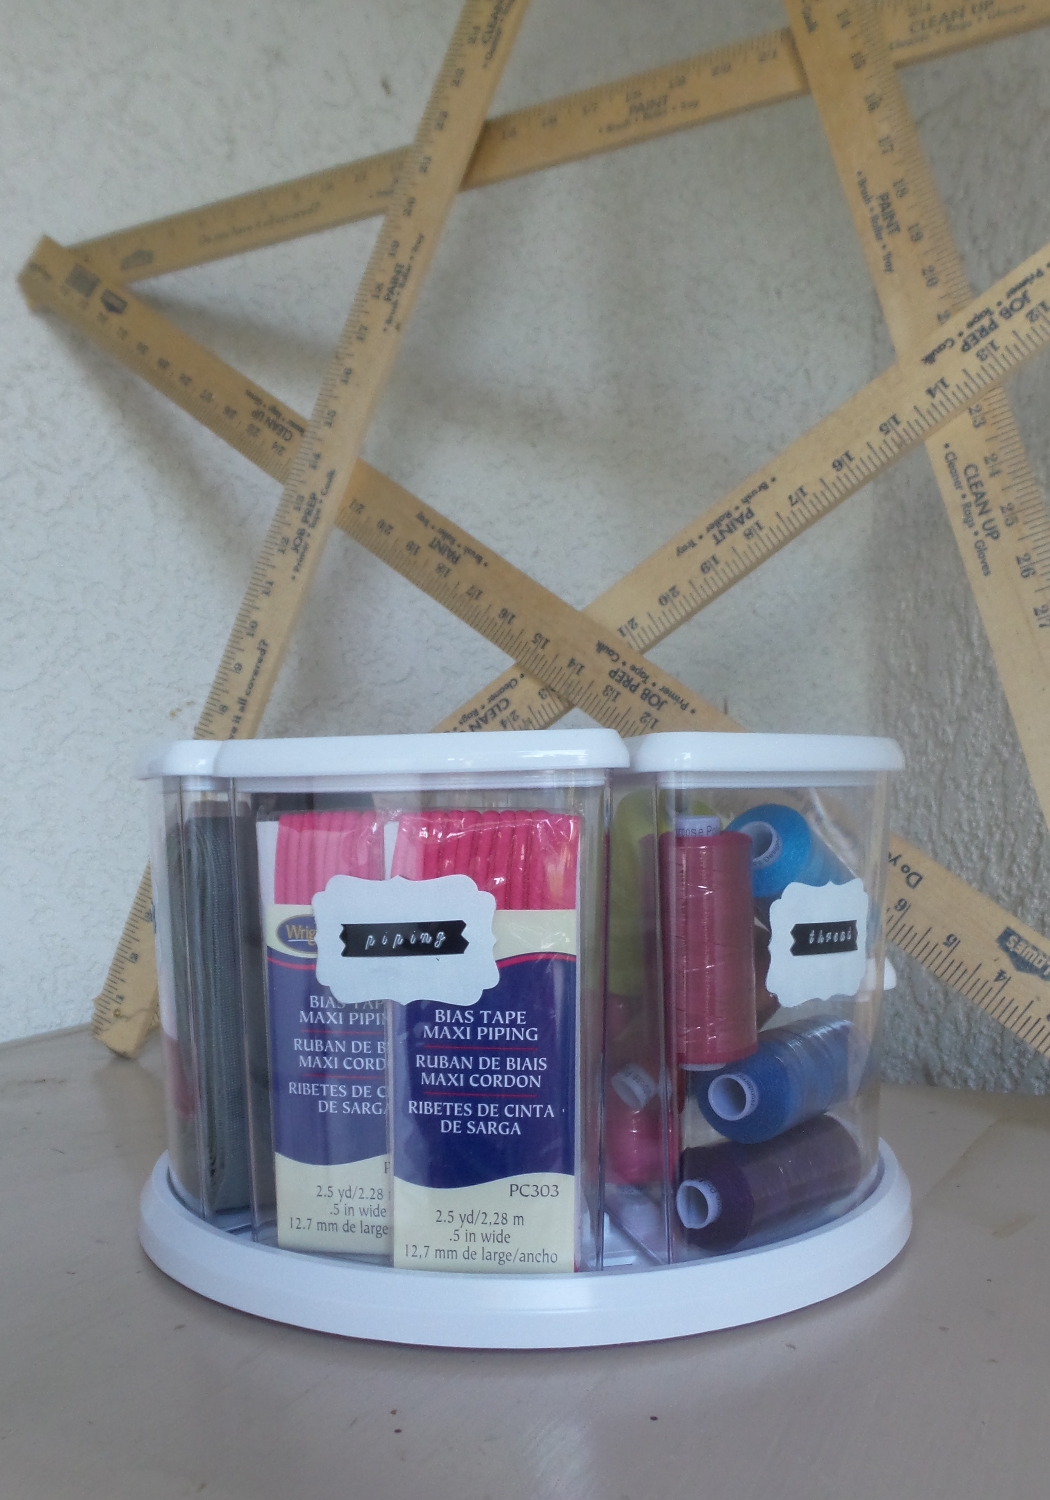
Deflecto Caddy Organizer
DECO FOIL™ Peel n Stick Toner Sheets
Deco Foil™ Transfer Sheets • Pink Melon
Artistic Edge Digital Cutter
12" Foil Laminator

3. Using parchment in Cut DECO FOIL™ Peel n Stick Toner Sheets place the letter with foil on top shiney color side up fold parchment over and send through laminator. let cook and peel foil away.
4. Peel letters from paper backing and place letters along front bar of Caddy Organizer Frame. Add bow fill with back to school survival supplies.

This is a sponsored post. Deflecto has provided product in exchange for my creative ideas, views and opinions.